Showing posts with label Birthday. Show all posts

March 8, 2018

Neat and Tangled March Release Day Four | Little Monster

Hey there, welcome to the day three of the  March Neat and Tangled release. On the final day of the release, I have monsters! My favorite set from this release includes a tiny birthday monster for all of your celebrations.


To create this card begin with a white cardstock card base with a circle die window cut out of it. Next, use Copic markers to color the monster, balloons and title in bold colors. Layer the monster and balloons in the center of the die cut circle, using foam tape to pop up some of the elements. Use black Versafine ink to stamp the subtitle and layer the "monster" title just underneath.


Neat and Tangled will be giving away a Little Monster Stamp Set. To enter, leave a comment below to be entered. Be sure to visit the Neat and Tangled blog on Friday for a list of winners. Good luck and thanks for stopping by!

January 30, 2018

Cascading Hearts + Backgrounds

You can tell I'm in Valentine's mode by the color schemes I've been gravitating towards lately. There's something about hot pink and orange and yellow that I love. I tried it out on this Cascading Hearts background stamp by Sunny Studios and I'm in love!


To create the card, use the Cascading Heart stamp and a trio of pigment inks ranging from fire engine red to bubblegum pink to orange. Using a stamping platform is key to getting the coverage shown here. Next, stamp a trio of kitties and balloons from the Purrfect Birthday stamp set and color with Copic markers. Use foam tape to pop up the center kitty and some of the balloons. Add the sentiment just under the kitties in blank ink. Place a small cake icon at the start of the sentiment for a bit of whimsy.


Use the Cascading Hearts stamp to create a beautiful shower of love for all of your stamped images!

SUPPLIES: Cascading Hearts Stamp | Purrfect Birthday Stamp Set | Purrfect Birthday Steel Dies

March 30, 2017

Project Life | Elle's Studio


Let's take one final look at the  Elle's Studio Birthday Kit. You can see other project I made with this kit here. It's hard to believe that they were both made with the same kit. That's how you know it's a good one!


Here I took out all the red, pink and golden yellow elements to create this spread about my niece's birthday. Around here we have something called the "birthday weekend", so we celebrate the actual birth date, then there's the family birthday bash and then to cap off the birthday weekend. Yes, we like to celebrate! These photos are from that weekend. They highlight the places and things my niece chose to do - it was all about the "A Dog's Life Movie", watermelon and swimming.


I painted the wood veneer number "9"to give is a pop of color, then added a line of stamped text and a few embellishments. You know I can't leave anything plain! That pocket of goodness in the center is my favorite, just after the dog stamp and the watermelon photo. I have a lot of favorites.

Check out the Elle's Studio kits, they are beautifully designed and easy to use! The birthday one is a limited edition, so make sure if you want it you grab it here.


October 5, 2012

Echo Park Birthday Girl

Birthday layouts are sometimes a challenge. I like to include a little bit of everything - presents, cake, and gifts. On one hand this makes for super busy pages, but I don't feel like the story is "told" if I don't have all of the elements.
In this layout I used the Birthday Girl Mini Collection from Echo Park. I love the bright color scheme and simple patterns. I highlighted my favorite picture of the birthday girl and her cousins by making it the largest photo on the page and also the only one in color. I printed a collection of black and white photos in a uniform size to keep the photo collage clean and uncluttered.

After layering the patterned paper and placing the photos, I added a few special touches. First the number stickers that indicate my niece's new age add a personal touch to the page. The hand stitching with white thread underlining the word "celebrate", add a homemade touch. And the jewels on the crown, buttons and twine complete the page.

SUPPLY LIST:

May 12, 2011

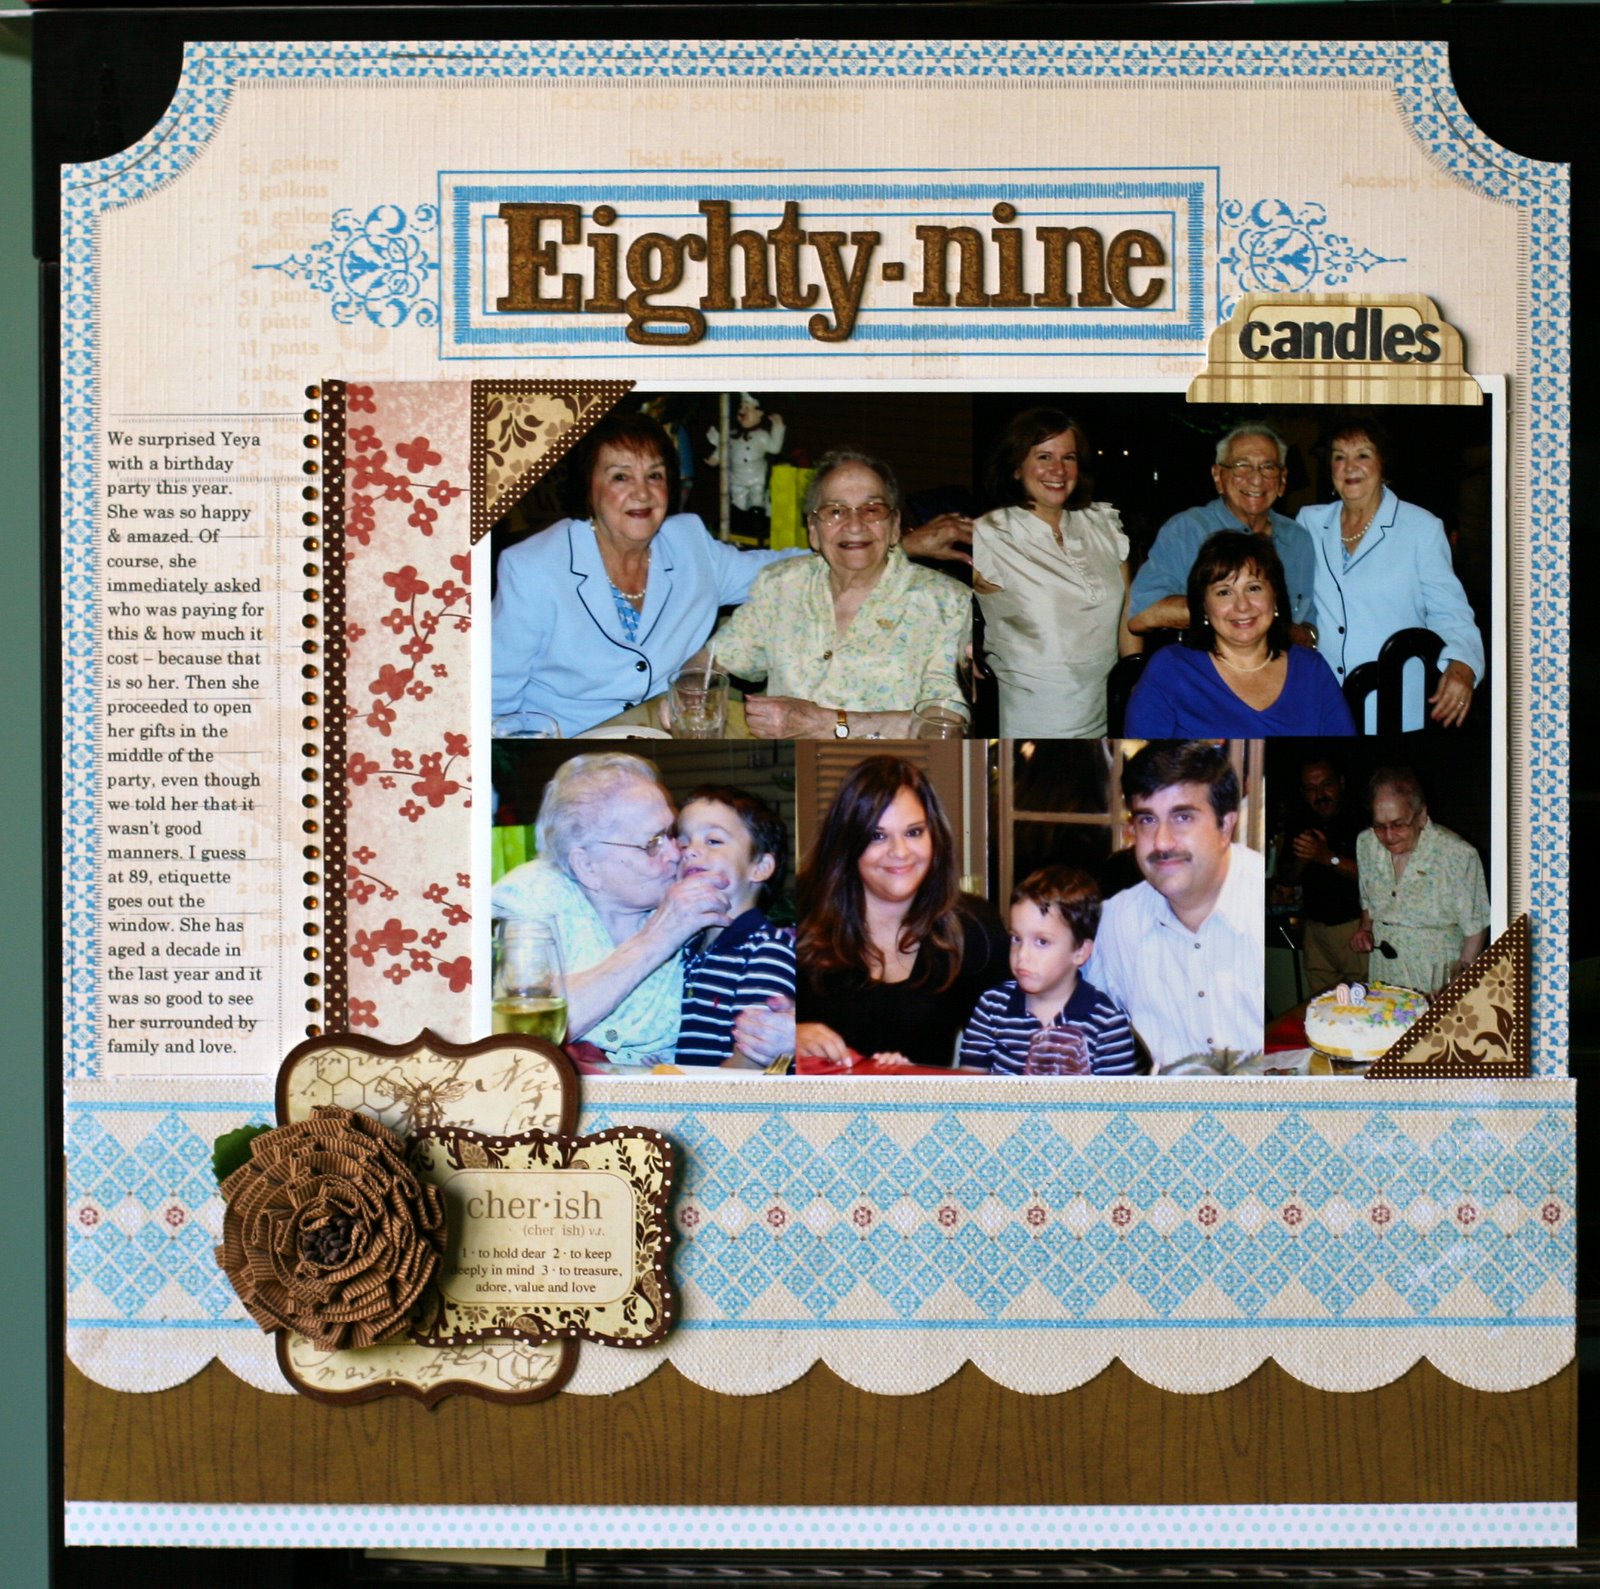
89 Candles & A Little Cricut

I have some older projects to share with you today. The first is an old Work in Progress kit  project that I forgot to post. These pictures were from my grandmother's 89th birthday this year. I must've had my camera on the wrong settings, because almost all of the 100+ pictures I took did not come out. I hate it when that happens.

I made do by combining some of the salvaged shots into a photo collage in Photoshop Elements. I thought they still told the story and look aesthetically pleasing on the page.

This is a Cricut trinket box that I created  for the Cricut Circle a few months ago. It's one of many boxes that you can make from the Wrap it Up cartridge. It was very easy to put together and decorate. I think it's perfect for a baby shower favor (maybe filled with a cupcake or some chocolate). All of the paper is from My Mind's Eye and I dressed it up with organza ribbon and aqua brads.

I love coming up with party ideas using my Cricut. Look for more of these in the future!

August 3, 2010

Tinkerbell Birthday

I won't lie, when I first got these pictures of my niece's party back, I cringed. Purple and green are so not my colors and they are very prominent in the pictures. But then I came across this Sun Kissed line by Bo Bunny Press. It's almost as if they had made it especially for these pictures. There's water (it was a pool party), bright purple (matches the pics) and green (for Tinkerbell. And so this is what I came up with...

I think I got incredibly lucky with the release of these products! This layout came together pretty quickly for me. It includes some of my favorite pictures of the kids, my cousin/brother and his kids and a picture of me (miraculous).

To further tie in the theme, I added a tiny Tinkerbell on top of the water sprinkler portion of the layered sticker and cut off the top of the hose. I can't wait to show this to my niece, I think she's going to love it.
Thanks for taking a peek. I'll be back towards the end of the week. We are having my niece and nephew sleep over for a few days just for fun. I wonder how I'll do as a temporary mom of 3 - this should be interesting!

July 8, 2010

Calling All Superheroes

We are a little under a month away from Nico's 5th birthday party. I am in full party planning mode right now and I just got the invites out. I thought I would share this cute invitation idea that I discovered.
Last month, I started scouring the net for invitations, but I had a hard time finding something with more than one superhero. Finally, I stumbled on this little beauty....

I purchased the image from a graphic artist on etsy.com! I ended up buying every single superhero image that she had and I plan to make my own goody bag labels and decorations.
I used more of the graphics for this little 3x5 insert card to the invite. I was able to manipulate the image and add the "5" on Superman's chest. So cool!
And lastly, the envelope. I added the yellow circle on my own and then layered the Batman on top. I think these make supercute custom invites at a fraction of the cost. Who knew you could buy graphic images on Etsy?!
I'll share the rest of the party decorations and photos next month. My little pip is so excited about his superhero party. Shhhh....he doesn't know it, but we've hired Batman to make an appearance. His reaction is going to be priceless and I can't wait.
I'll be back soon with more summer layouts!