Showing posts with label Cricut. Show all posts

November 3, 2011

Cricut Beach Tray

A quick share today of an old Cricut project from this past summer. A few simple shapes and some of my favorite pictures.
The sand dollar shape was covered with Muddle Puddles by Creative Imaginations for that sandy texture. And topped with a real tiny sand dollar I picked up at the beach.
Don't forget to leave a comment on the blog hop below for a $20 gift certificate from twopeasinabucket.com. You have until midnight (EST) 11/7/11. I will chose a random winner on 11/8/11.

August 16, 2011

Cricut: CM Traveler Cartridge - Pack Your Bags!

I've been making plans for our yearly Halloween Disney trip this week when I stumbled on this Cricut layout I made a few months ago. This was from Nico's first trip on a plane + his first Mickey mouse shirt. It's so hard to remember my big boy being that tiny and bald.
The story is about how well he did travelling. We put him through a 2-hr flight and 3-hr drive to attend a wedding.  Then back on a plane a few days later to a family reunion in Disney World. My only excuse is that we were new parents and I'm not sure what the heck we were thinking. 

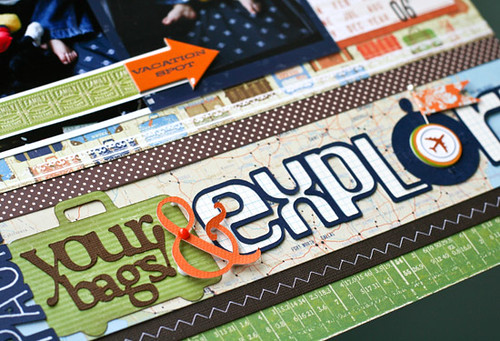
I used the Creative Memories Traveler cartridge to create the long title. I added penstitching with a white Uniball Signo pen to the word "pack", a few chipboard pieces, brads and a flag to add dimension to an otherwise flat title.
I love the bold, graphic shapes in this Cricut cartridge, it's definitely one of my current favorites. The paper, chipboard and stickers are all from a very old Little Yellow Bicycle line. I think it was called Traveler and it was released two years ago. I love using up my "old" stash.

Thanks so much for stopping by. I'll be back soon with a 2Peas layout and a sneak peek!

June 17, 2011

Cricut Hello Thursday...or Friday

I've been missing around here! Just busy with end of school year stuff and enjoying this beautiful weather. I've been doing most of my scrapbooking at night and let me tell you -- I am TIRED! It seems as if once I start a project, I can't pull myself away until I'm finished. I've got alot of fun pages coming up to share with you in the next two weeks, so stay tuned!

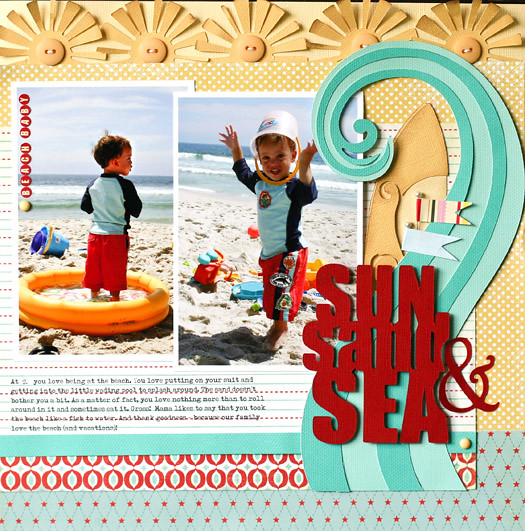
Today, I have a Cricut blog page to share with you. This page is about my son at the beach when he was little and how silly he was. I remember how much he loved the sand and especially eating it. Yuck!
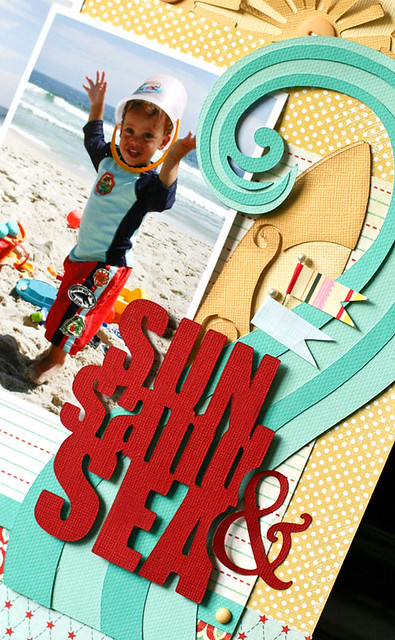
The red title, wave, surfboard and suns were all created using the new Cricut cartridge CM Traveler. You can see more of the images from this cart at Cricut's official blog here. All of the paper is from My Mind's Eye. I love the bold images and titles in this cartridge.
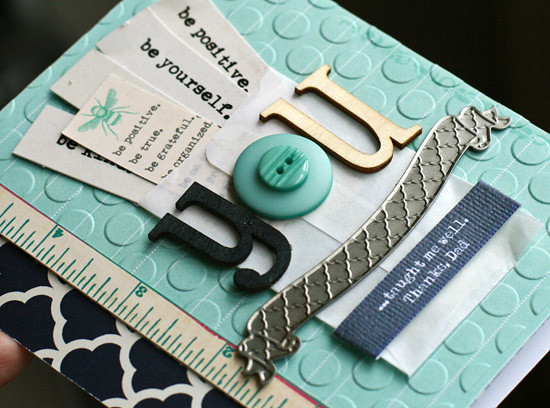
And this is a Father's Day card that I made for Pink Paislee with the Daily Junque line. The small envelope is actually the ephemera packaging, but I used it as the base of my card. I also used the Cuttlebug Seeing Spots folder to create the background.
Thanks for bearing with me through this little hiatus. Hopefully, I'll get on a better blogging/crafting schedule even if my sleep suffers for it.

Have a great Father's Day weekend!

May 28, 2011

Hi everyone! Happy Memorial Day weekend. I hope your weather is as nice as ours right now & you are out enjoying it!

I have a really quick project that I made for the Pink Paislee blog today. This is a candy centerpiece that I made for Nico's birthday party this summer. I love how it's decorative, personalized and good to eat.
 
I love these chalkboard stickers and they were really easy to cut with the Cricut Expression.
For more details and sizes, please visit the Pink Paislee blog here.

Have a great one!

May 12, 2011

89 Candles & A Little Cricut

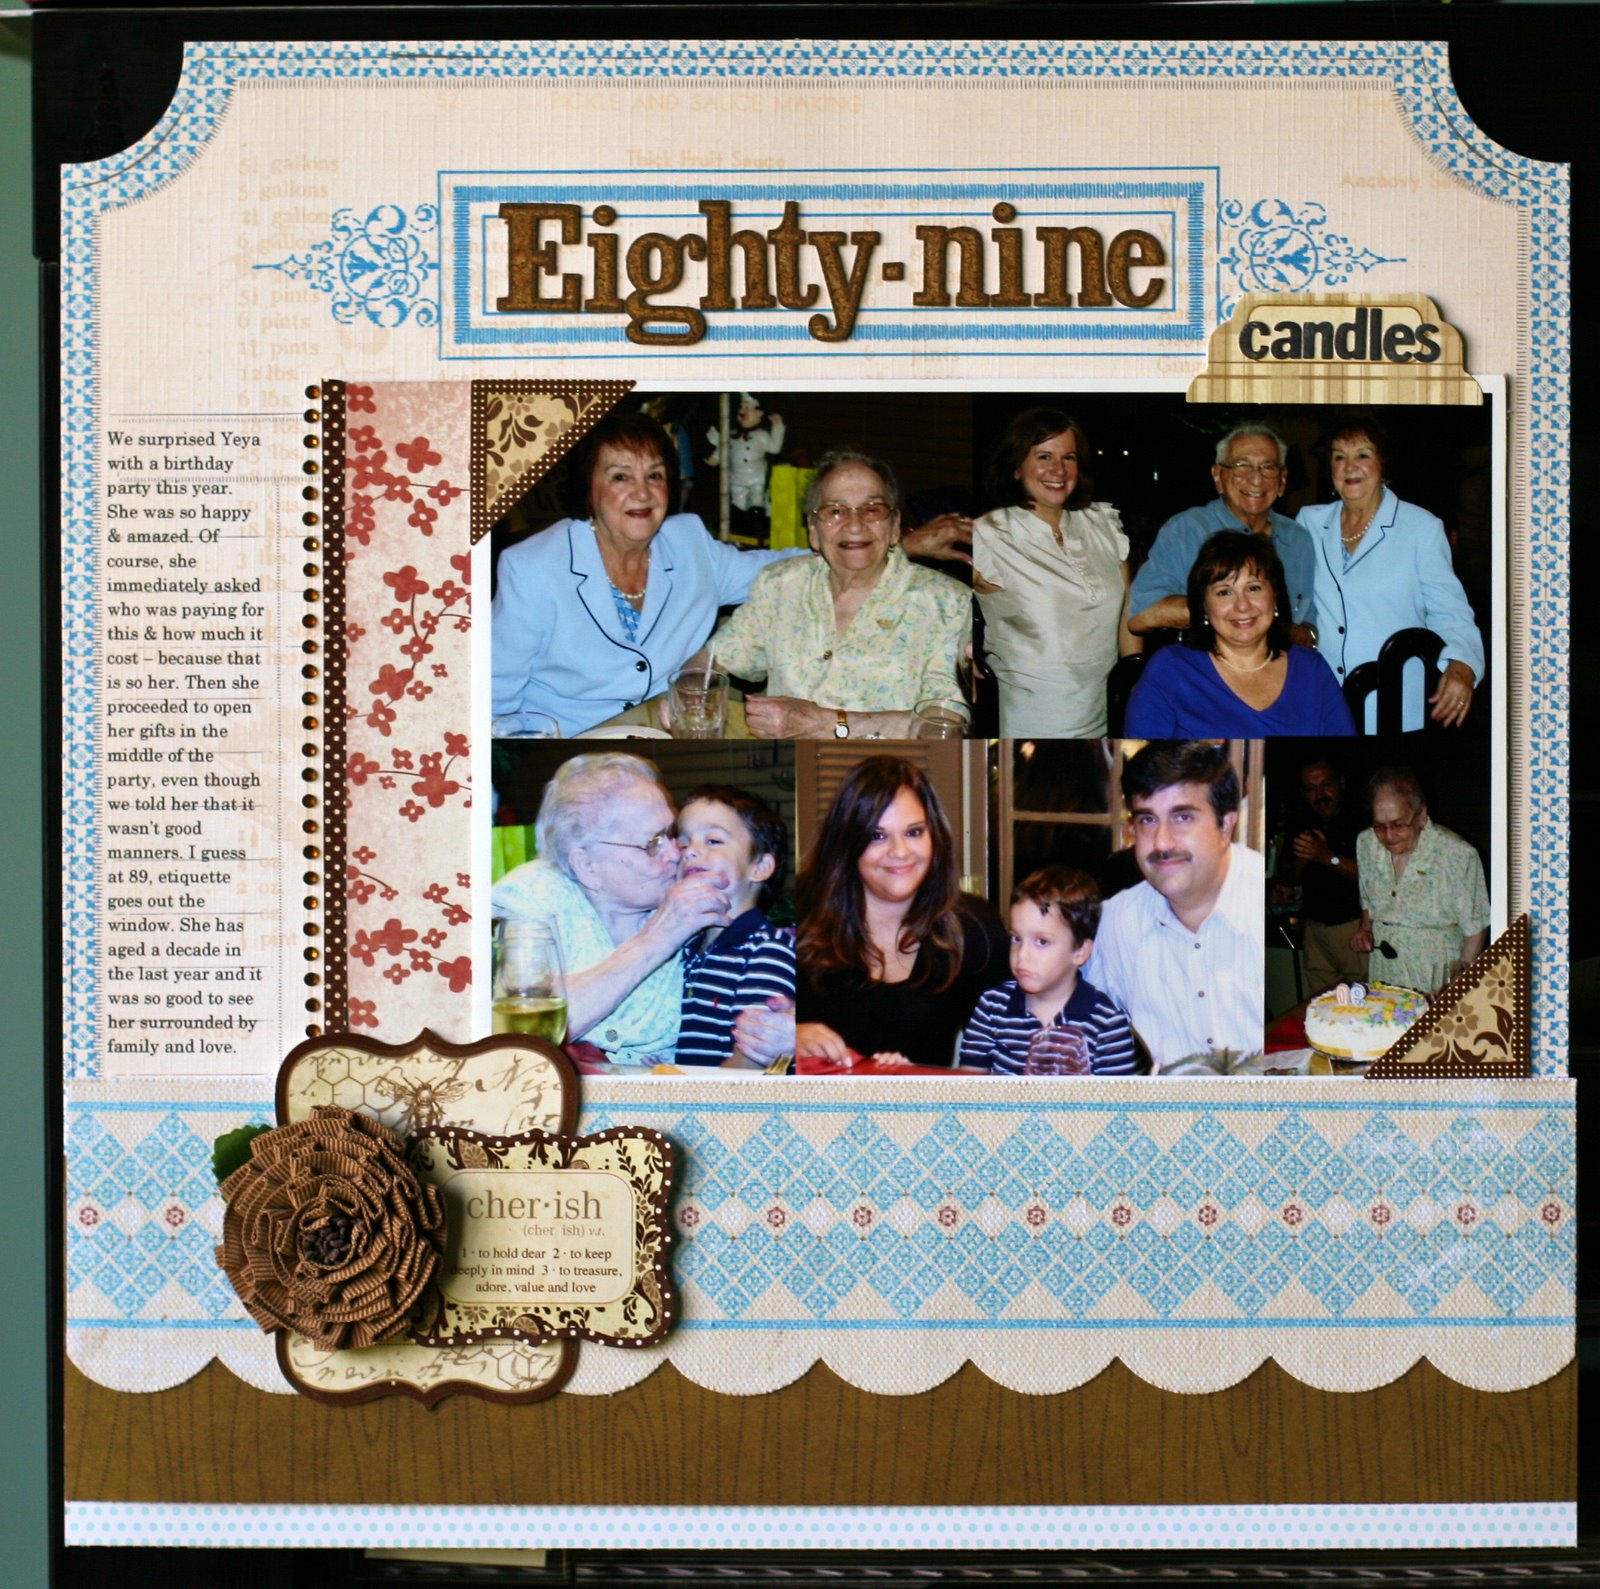
I have some older projects to share with you today. The first is an old Work in Progress kit  project that I forgot to post. These pictures were from my grandmother's 89th birthday this year. I must've had my camera on the wrong settings, because almost all of the 100+ pictures I took did not come out. I hate it when that happens.

I made do by combining some of the salvaged shots into a photo collage in Photoshop Elements. I thought they still told the story and look aesthetically pleasing on the page.

This is a Cricut trinket box that I created  for the Cricut Circle a few months ago. It's one of many boxes that you can make from the Wrap it Up cartridge. It was very easy to put together and decorate. I think it's perfect for a baby shower favor (maybe filled with a cupcake or some chocolate). All of the paper is from My Mind's Eye and I dressed it up with organza ribbon and aqua brads.

I love coming up with party ideas using my Cricut. Look for more of these in the future!

May 5, 2011

Gingerbread Cricut

This is an old Cricut Circle project that I made right around the holidays this year.

I used the Gingerbread Seasonal cart to weld these cookie images together. I thought they would make a cute border for my page. The journaling and photo "wreaths" are from the Heritage cart. All of the paper is Echo Park's Everybody Loves Christmas.
This was a fun and quick project to document the only TWO photos I had of Nico and I making a gingerbread house. I was so into protecting that poor gingerbread house from a very excited boy that I didn't take many photos.

I'm busy working on projects for the 2Peas Garden Gallery. I'll have a new page up on Monday and some weekend photos up soon.

April 21, 2011

Cricut Mini Album

I have a Cricut Circle project to share with you this morning. It's a little book of love notes to my favorite boy. I made this around Valentine's Day and used some old pictures that I had of Nico.

The cover is made from a series of welded letters and heart shapes that I designed on the Gypsy. I then inked it, dressed it up with brads, and put it up on some pop dots for dimension.
I placed this picture on a huge postage stamp die cut from the Sentimentals cartridge and added some fun elements.
 Next up is an envelope from the Wild Card cartridge that holds a little note from Mama to Nico.
Another sweet picture and monogrammed heart from the Simply Sweet cart.
A peek-a-boo page from the Paper Lace cartridge.
And then last up some closing shots of my silly little guy.

This was a fun way to showcase some of my favorite picture from way back when. The mini-album was bound with red rings from Bazzill and I added a chipboard back cover to make it sturdy. I hope this mini inspires you to create a little keepsake of love for your little one!

April 8, 2011

Cricut Quilling

I posted a peek of this project way back in October and I just wanted to take a quick minute to get it back up here on my blog.  This was only the second project I ever made for the Cricut Circle and one of my favorites. I made it using the Cuttlebug daisy and chrysanthmum quilling kits.

This was a little tedious. I made all of the flowers over the course of 2 nights watching TV. They're  pretty easy to make. Gluing them onto the styrofoam sphere - that's another story!

I really like the way this turned out. I think I might make one for Spring. I think it would look cute at our Easter table.

I'm off to scrap this weekend with a few of my favorite girls. I'll be back Monday with a few pictures from our adventure. Have a good one!

March 17, 2011

Cricut Home Decor

This is an old Christmas project that I did for the Cricut Circle. I made this home decor piece using a charm frame on the Heritage cartridge. When I put the frames together, I noticed that it created a really cool cathedral quilt effect.
I added small photos from the Christmas cards we received the previous year and our family card up on top.
I love this project because I can pop out the page and put it in my scrapbook at the end of the Holiday season. And next year, I can just create another one.

I'm still working on that video. It's not quite as easy as it looks!

March 9, 2011

Cricut Christmas Pops

I have an old Cricut Circle project to share with you today. I made these cookie pops with the Cricut Cake machine this past Christmas. Nico and I spent a Saturday morning in the kitchen rolling out fondant (very, very thinly) and trying out the Cricut Cake machine. He loved to watch it cut. Getting the super-thin fondant onto the cookies was tricky, but I think they came out pretty good. 

We made six different pops and then placed them in these glass jars from AC Moore. They were cute placeholders for our holiday dinner. The kids loved them, but be forewarned - placing a cookie pop in front of 5 year old and then serving a chicken dinner could be torturous (for the kids & the parents too!).

I've been working on taping a video of my scrapbook process. I hope to have it soon and look forward to sharing it with you!

March 4, 2011

Cricut Cards & Bags

I have another Cricut Circle project to share with you! I made this coordinating gift bag and card with the Wrap it Up cartridge. and A Walk in the Park by Echo Park.
This was super simple to put together. I added some clear dew drops and twine to both pieces for dimension and interest.

The Wrap it Up cartridge has great baby, wedding and holiday cards that coordinate as well. We go to so many birthday parties throughout the year, it was handy to have this pre-made and ready to go!

February 24, 2011

A Birthday Bash!

Here are few more projects that I did for the Cricut Circle using the Birthday Bash cartridge. I love the cute animals and pennants in this cart.
I teamed up the cart with papers from My Mind's Eye Alphabet Soup line and some kraft cardstock to create this cute invitation.
These cupcake picks were so much fun (and work) to make. I glued them on to lollipop sticks so that they would be long enough and sturdy.
I bought this Chinese food box at Michael's and then decorated it with my Cricut. I'm in love with monograms, so I used the alphabet on the Birthday Bash cart to decorate the front of the box. The "surprise" banner adds a little something to the plain metal handle.
And last up, is a tiara for the little birthday girl. I enlarged this cut to fill the page and then used glitter paper and pearls to dress it up. You can't see it from this picture, but I sewed two pieces of wide ribbon to the ends so that it can be tied on.

I love birthday party planning and using my Cricut makes it a snap!

February 17, 2011

Birthday Bash Cricut

I made this a few months ago, but I thought I'd post it here since I'm busy working on assignments and have nothing new to share with you (YET!). This is one of the very few cards that I've made for the Cricut Circle.
I used the Birthday Bash cartridge and papers from My Mind's Eye. It was challenging, but I really like this card. So much, that I can't bear to send it out. What if someone throws it away? I don't know how cardmakers do it. When I make layouts, I know exactly where they are going to go, but this cute little bee could end up anywhere. Just can't do it.

Be back soon!

December 16, 2010

Cricut Hello Thursday

I have a new Cricut cartridge sneak peek to share with you! I received the Best of Pixar cartridge and I'm in love. Designing for the Cricut Circle has been a dream assignment for me. I have a great team to work with and then every once in a while a cart like this arrives on my doorstep. For a Disney freak like me, it's heaven!
There are tons of images of Nemo, Flik, The Incredibles and Monsters, Inc on the cart. I love this collection of Disney pictures from our trip, so I decided to use the Nemo title, anemone, coral reef, flowers and sand bar to put together this page.

There are 9 other brand new Cricut carts and you should see different projects from each of the circle designers go up throughout the day. And for the Disney folks, there is a Classic Disney cart with Alice in Wonderland, Peter Pan, Pinocchio and Bambi. You will love it!

I hate to post and run, but I have 30 gifts to wrap before Nico gets home from school. They're not all for him, but he can't be around because I've discovered that the little stinker cannot keep a secret for beans!

Tomorrow I'll have a Christmas tag and maybe a minibook...

November 30, 2010

Cosmo & Mickey

As you have probably already noticed, I love doing Disney layouts. I love the bright colors and the pictures from those vacations are some of my favorites. They show Nico at his happiest and these are the memories I like to document first.

The colors in this new Cosmo Cricket Circa 1934 line inspired the theme this time. While it has an old fashioned look to it, the red, black and yellow color palette reminded me of Mickey and so I came up with this...

This page was made with the December WIP Kit.

I used corrugated paper for the base of the page to add texture and tone down the vintage look of the patterned paper. The twine was glued down in random loops using Zip Dry Paper Glue - it dries perfectly clear! This was a fun layout to make - I can't believe how little Nico looks in these pictures. I have a whole notebook full of Disney stories, so be prepared for more layouts!


And for variety, a simple card. I am so not a card maker - I think that's a whole other crafting skill. I have a hard time working on such a small canvas, so I kept it very clean using 3 strips of patterned paper and one chipboard embellishment. For texture, I folded the red paper into a ruffle and added some sewing.

My favorite part of the card is the coordinating envelope. I'm a total matchy-matchy girl so this is right up my alley. I love how the double-sided patterned paper gives me an instant envelope liner. I created both the card base and envelope using the Wild Card Cricut cartridge.

I'll have two more Cosmo Cricket Circa 1934 pages up tomorrow. Thanks for stopping by!

November 24, 2010

Sneaking Back

It's been a while, I know! I've been busy making stuff, cooking stuff and organizing stuff. I'm getting ready for the big Thanksgiving dinner tomorrow and I just took a few minutes to post some of the things I've been working on.

I've been dying to use this Alphabet Soup line by My Mind's Eye. I love the colors and the flash cards. I've had them sitting around for a while and I was so happy to finally use them. When I first went through the deck of cards, I saw this fish flashcard and that prompted this page about Nico and his first swimming lessons.

There's a little bit of everything on this layout - all of the paper is MME, the clear buttons are 7Gypsies (super old), letters are Pink Paislee and the "school" tab is Crate. Oh and I started to use some of my new twine...love it!

I'll share a few sneaks of what's been keeping me busy lately. First is a little something with the December Work in Progress kit - love the Cosmo Cricket that's in there....

and then a little sneak of a Cricut Circle project I did last month....love the Birthday Bash cartridge - it's one of my favorites right now. Notice that I'm on a serious twine and banner kick right now. The aqua of course, remains consistent. Ha!

So I hope you don't find the sneak peeks annoying. These are some of the projects I've been working on that keep me from blogging regularly, so I thought I'd share what I can.

The good news is....all of the Work in Progress pages will be up next week. The bad news is...I have to get back to making my lasagna. Yes, we have lasagna for Thanksgiving...and turkey...and Spanish rice...and 3 different types of potatoes. It's like a meeting of the United Nations around here tomorrow. I'll be back with pics!

Happy Thanksgiving,

October 15, 2010

Not Your Grandma's Quilling

Good Friday morning everyone! Today I'd like to share a sneak peek of a project that I made for the Cricut Circle blog. It's a paper flower pomander and I made it with the Cuttlebug Daisy and Chrysanthemum Quilling kits. These kits make it a snap to quill. It's so much easier than the "old-fashioned" type of quilling with strips of paper. Promise!


If you scroll down on the blog post today, you'll see my project and directions. Take a peek soon because the blog is closing and will be for members only.

I'll be back Monday with a new October Afternoon 2-pager. I'm putting the finishing touches on it today!

October 2, 2010

Cricut Happy Hauntings

I have been holding on to this picture of Nico with the ghouls at Disney's Haunted Mansion for over a year. I was looking for the perfect frame, but nothing really fit the look that I wanted. Then I stumbled on the Happy Hauntings Cricut cartridge and found just what I was looking for!
I rarely do one large picture on a scrapbook page, but this story called for it. Plus, it was the only one I had. Getting a picture with the ghouls is very rare and we just stumbled upon a group of them just as we were getting off the ride during Mickey's Not So Scary Halloween Party.


The look on Nico's face is priceless. He would not take his eyes off the ghoul for a single minute. He gave me the fake cheese grin, but no way was he going to give me a glance. I laugh every time I look at this picture.

I wanted to emphasize the haunted mansion feel, so I made several Cricut cuts (frame in dark grey from the Mini Monsters cart & the gate from Happy Hauntings) in dark grey and black velvet. I layered them until I was happy with the look. I added studs, sponged on some black ink for definition and cut up some webs and spiders (Mini Monsters) to add to my piece.

All of the paper is Jillibean Soup. I love how it adds whimsy to the page and ties in to Nico's "look". I was lucky that it had green in it and matches the picture.

I hope you enjoyed my very first Cricut Circle page. I have a few more projects planned for this month that I hope you enjoy. While they will only be seen by Cricut Circle members on the private blog, I'm sure that you will see the influence of the Cricut on my personal pages right here as well!

October 1, 2010

Cricut Circle Design Team & GYPSY Giveaway


Well folks, it's official - I am proud, thrilled and excited to announce that I have been asked to join the Provo Craft Cricut Circle Design Team!

Today we will be launching the premiere of the Cricut Circle blog. Join us all day long as Jana Eubank (our team leader) hosts awesome giveaways, challenges and introduces each member of the design team on the hour. I've seen all of the projects the team has created and they are AWESOME! I am very fortunate to be working alongside such a creative group of paper crafters.
And in case you were wondering exactly what the Cricut Circle is, here is a little more information...
The Cricut Circle is Provo Craft’s affinity program. Provo Craft launched the Cricut Circle on July 1, 2010. The Circle is a place to Inspire, Educate and Create. This program enables crafters to see Provo Craft products first, be involved in specialized focus groups and surveys, receive special pre-launch specials on select Provo Craft products, a private blog and message board for Circletes to foster a special crafting community. Additionally, Cricut Circle members will enjoy 4 exclusive cartridges—one each quarter, instructional webinars and double reward points for purchases on Cricut.com. The Cricut Circle is available for annual or quarterly installments. To purchase a membership to the Cricut Circle visit cricut.com. Annual memberships are $274.99 and quarterly memberships at $79.99.

Visit the blog at www.cricutcircleblog.org and let me know what you think. Leave a comment here on my blog and be entered to win a brand new GYPSY (actually I have TWO to give away - how cool is that)!!! You do not need to be a Circle member to be eligible - everyone is welcome to participate! I will leave the comments open until midnight EST on October 8th and TWO winners will be drawn and announced on October 9th. Good luck!