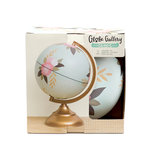
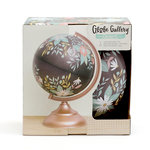
Introducing Globe Gallery from American Crafts. I love finding interesting things to decorate my craft space and the Globe Gallery by One Canoe Two is perfection! At just under 12 inches tall, they are the perfect size for any desk or shelf. I love all of the custom accents that can be added to personalize the base globe making each one a unique creation. They come in five different themes from constellations to wildflower. I love them all!
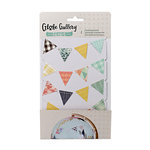
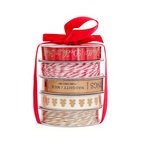
I chose the Map design with it’s beautiful script writing and gold base. I used the collection bunting and wrapped it around the globe twice overlapping. This adds a nice punch of color to the blue and aqua background. The adhesive backed pushpins keep the strands in place. It's easy peasy decorating!

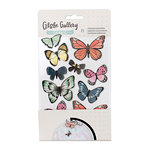
I used just a few 3-D butterflies from the collection and placed them along the strings of the bunting to add a pop of texture to the globe.
To add an element of texture to the base, I used the Life is Lovely Vinyl cling on to add tone-on-tone words.

Keeping the same design principle of gold on gold, I added adhesive nail heads from the collection along the arm of the globe. They were really made for marking places on the globe itself, but I thought why the heck not? I'm a little craft rebel like that.
This project took me under an hour from start to finish. I need more of the types of easy projects in my creative life! You can check out the entire Globe Gallery line here.

I'll be back next week with more crafty projects. Have a great weekend and wish me luck! (Um, I mostly shop in Atlantic City, so the odds are good).
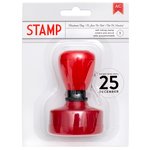
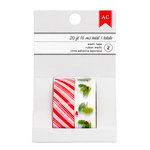
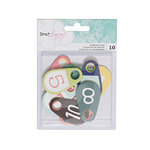
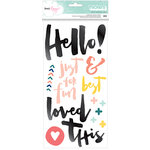
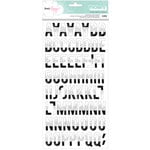
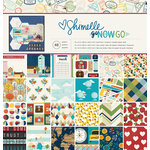
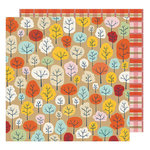
SUPPLIES | Click on the photos for more info