Showing posts with label Pinkfresh. Show all posts

December 21, 2016

Christmas Wish List + Tiny Wreaths

Nancy Damiano Christmas Layout Pink Paislee


Counting down the days till Christmas with a wish list that can be found in the Winter issue of Scrapbook and Cards Today magazine. Have you downloaded a free copy? It's a great publication with many ideas and great articles.

Nancy Damiano Christmas Layout Pink Paislee

The wreathes were created with a beautiful steel die by Concord and 9th. I've made so many tiny wreaths and Christmas trees this season. It's addicting and the detail is amazing. I love the super clean cuts that steel dies deliver. Makes for easy crafting!

SUPPLIES | Click on the photos


 Concord and 9th - Christmas - Dies - Take A BoughBella Blvd - Illustrated Faith - Basics Collection - Shanna's Favorites Watercolors   American Crafts - Saturday Collection - Thickers - Alpha - Petals - Black and White        Pinkfresh Studio - Oh Joy Collection - Christmas - Cardstock Stickers with Foil Accents - Phrases


Pink Paislee - Take Me Away Collection - 12 x 12 Paper Pad  Hero Arts - Christmas - Clear Acrylic Stamps - Holiday Mittens Pink Paislee - Take Me Away Collection - Thickers - Alpha - Chipboard - Carefree

December 7, 2016

Mini December Daily + Pinkfresh


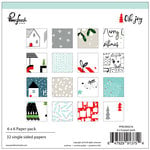
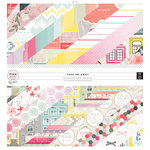
Decorating for the holidays is one of my favorite parts of the season! I made a quick mini album to display some of my favorite ornaments we've collected through the years. The Pinkfresh Oh Joy! Collection has the perfect mix of classic Christmas icons and colors for this type of project.

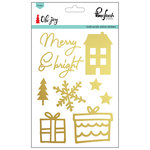
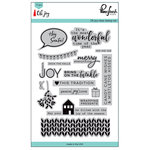
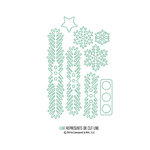
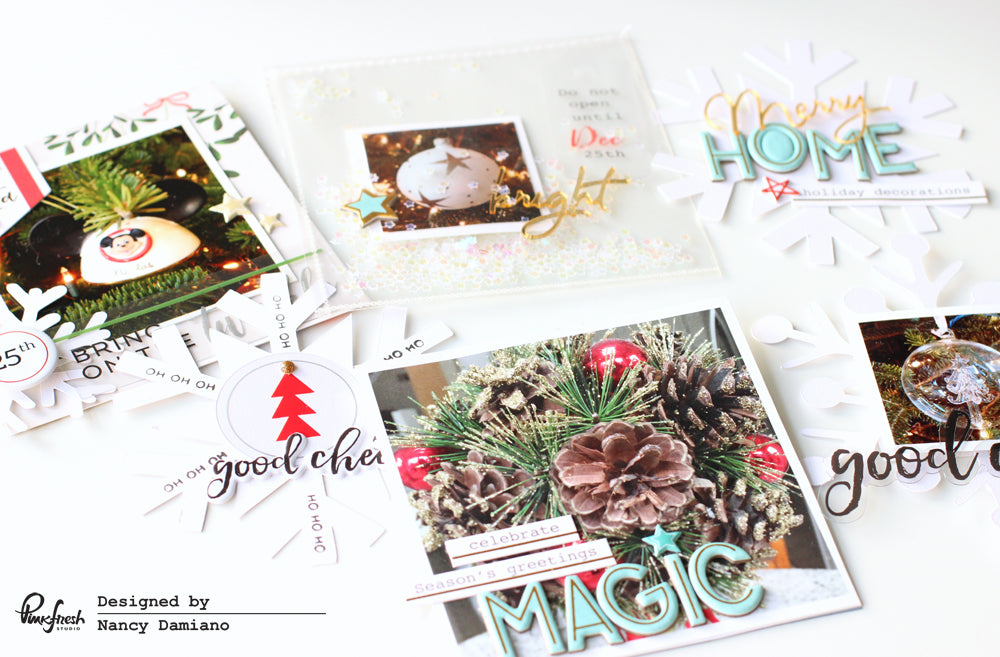
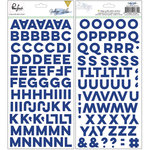
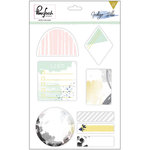
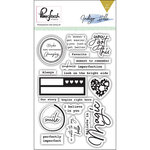
To create the cover, cut a solid snowflake die cut to a 4" diameter and embellish with the gold and aqua chipboard stickers. The "merry" title is from the acrylic mirror stickers from the Oh Joy collection - it's my favorite part! 

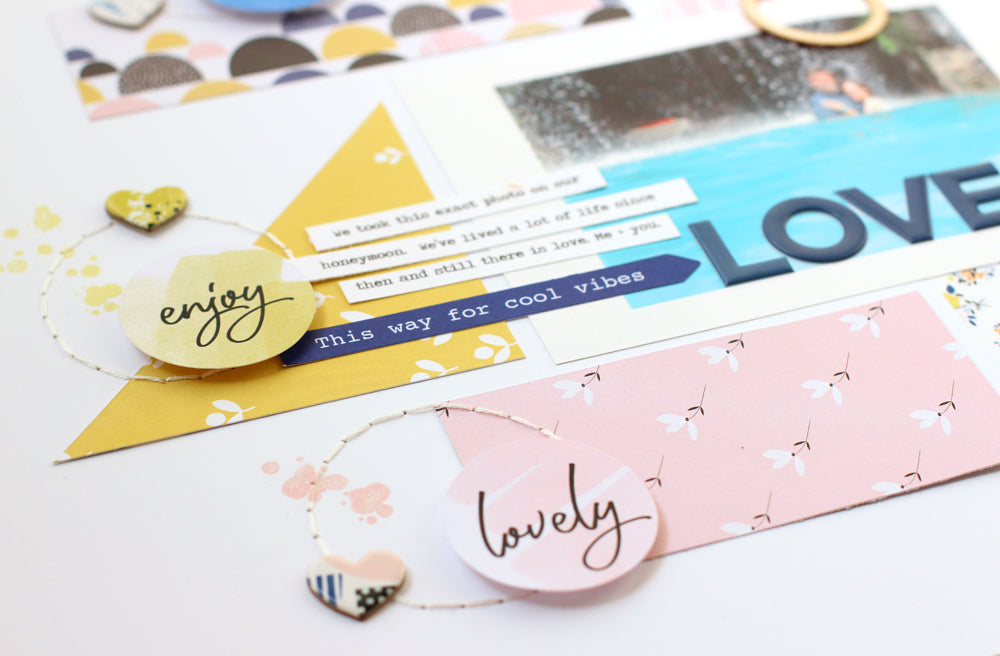
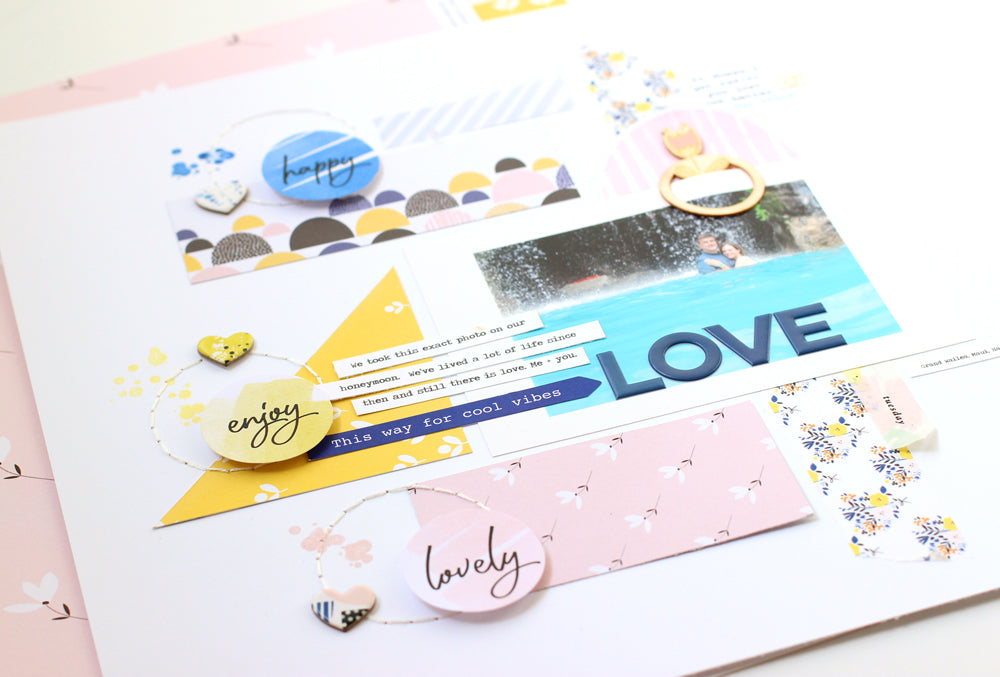
A few die cuts and some patterned paper create the base for this page. The rubber charm sticker is from last year's Pinkfresh christmas collection and it matches perfectly!

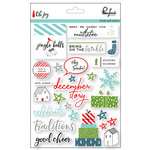
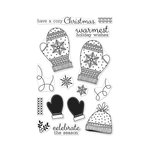
Repeating the same shape as the cover, this snowflake features a die cut in the center, a puffy title and some simple stamping.
To make this shaker page, cut a divided page protector on three sides. Then fill with a small photo, tiny star confetti and a handful of embellishments from the Oh Joy collection. Machine sew the top to seal up he pocket.

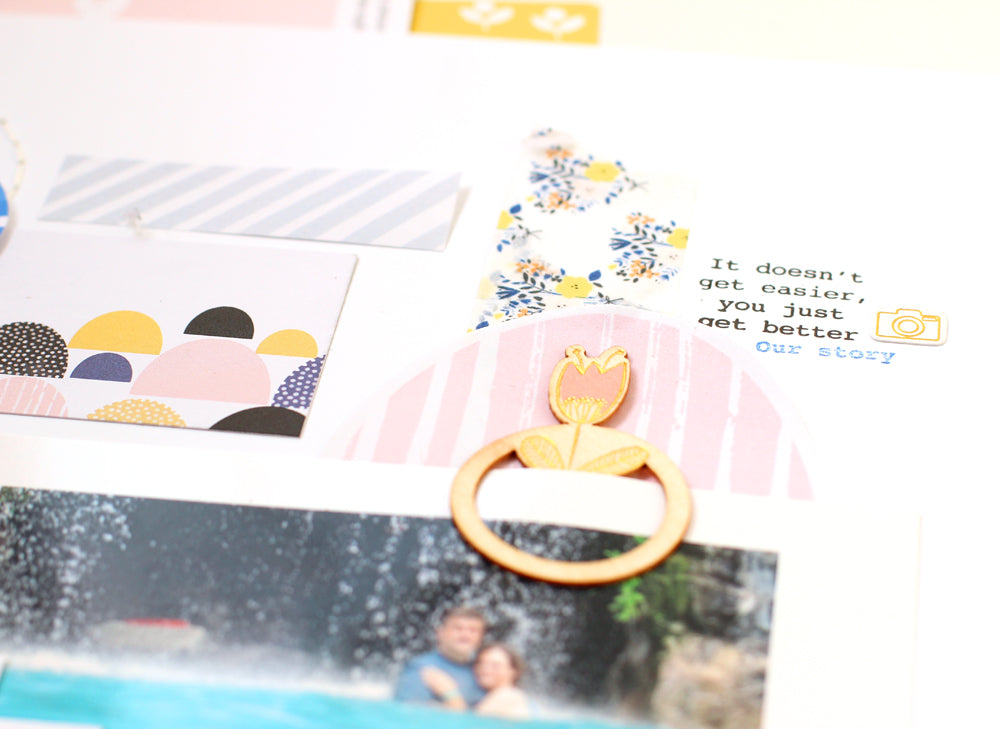
Showcasing a favorite ornament is as easy as creating a bed of beautiful layers. Patterned paper, a few die cuts and a transparency frame out the photo.


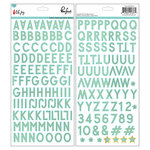
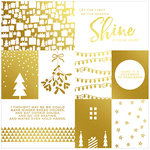
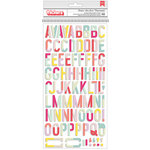
Using a 4x4 photo as a page base is a beautiful way to highlight a favorite photo. Placing the Magic title and some sticker strips in the shape of a Christmas tree adds a nice touch without taking away from the photo.
Pinkfresh Christmas Mini by @nancydamiano
This snowflake is double sided. There is a square photo of the same size on the back. It's a clever way to add more photos and keep the shape uniform. Always think ahead about both sides!
Pinkfresh Christmas Mini by @nancydamiano

 Making simple books like this is a nice alternative to the grind that a daily December album can become. I find that if I can tackle a project I can finish in one night, just maybe I can go for an entire album!

SUPPLIES | Click on the photos for more info

Pinkfresh Studio - Oh Joy Collection - Christmas - 6 x 6 Paper Pack      Pinkfresh Studio - Oh Joy Collection - Christmas - Puffy Stickers     Pinkfresh Studio - Oh Joy Collection - Christmas - Acrylic Mirror Stickers   Pinkfresh Studio - Oh Joy Collection - Christmas - Chipboard Stickers with Foil Accents - Alphabet


Pinkfresh Studio - Oh Joy Collection - Christmas - Clear Acrylic Stamps    Pinkfresh Studio - Oh Joy Collection - Christmas - Die Cut Acetate Pieces    Pinkfresh Studio - Oh Joy Collection - Christmas - Transparency Cut Apart Sheet - Gold    Pinkfresh Studio - Oh Joy Collection - Christmas - 12 x 12 Double Sided Paper - Advent Love

November 7, 2016

Process Video: Watercolor Transparency + Pinkfresh Studio Card

This summer I started making cards in between scrapbook projects. While watercoloring has been popular in scrapbooking for some time, I haven't really given it a try. The smaller canvas of a card isn't as intimating for me to try new techniques like this.


Watch the video to see my beginner self try out this new to me technique for easy watercoloring:

Here's the same technique on another card. I like to create several cards with the same supplies that are already out. That way I can practice the technique over and over in the same sitting.


If you've given the transparency watercoloring technique a try, drop me a comment and let me know how it went. I'm still in the learning stages and would love to share ideas.


SUPPLIES | Click on the photos for more info:


Pinkfresh Studio - Clear Acrylic Stamps - Late NightsRanger Ink - Tim Holtz - Distress Ink Pads - Tumbled GlassRanger Ink - Tim Holtz - Distress Ink Pads - Peacock FeathersRanger Ink - Tim Holtz - Distress Ink Pads - Chipped SapphireRanger Ink - Tim Holtz - Distress Ink Pads - Salty OceanHero Arts - Embossing Powder - WhiteEK Success - Powder ToolMini MISTI - Most Incredible Stamp Tool InventedRanger Ink - Inkssentials - Mini Mister - Mini Spray Bottles - 3 Pack         Ranger Ink - Multi Medium - Matte - .5 Ounce

October 25, 2016

Pinkfresh Indigo Hills + Cards

Pinkfresh Layout by @nancydamiano
I've been working on a lot of Maui photos lately. The beautiful Indigo Hills collection from Pinkfresh Studio has just the color palette and icons that are perfect for these photos. This one is a favorite (I have so many!). It's a replica of a photo we took on our honeymoon - same spot, same pose, many lifetimes later. 
Pinkfresh Maui Layout by @nancydamiano
This design started with the title. Right smack in the center of the page, bold blue and inside the blue space of the photo. I love how it underlines the "us" in the picture.
Pinkfresh Maui Layout by @nancydamiano
Stitching and movement are two of my go-to design techniques. Here they also ground the circle word die cuts and heart chipboard. I used the So Sweet Stamp Set to create the paint splotch effect around the circles. Splattering paint sometimes makes me nervous since I'm not that great at it. A stamp with three sets of splotches like this is golden!
The veneer clip from Indigo Hills holds the photo cluster together and adds a nice pop of gold to the layout.
Pinkfresh Maui Layout by @nancydamiano
Next, let's take a look at something I've been doing more and more lately - cards! These feature some of the new Pinkfresh stamp sets and more of the Indigo Hills collection.
Pinkfresh Studio Cards by @nancydamiano
Simple cards with bold sentiments are quick and easy to make. That's perfect for a beginner like me. I love how the words are the focus in both of these cards.
Pinkfresh Studio Cards by @nancydamiano
The background here was created by blending some Distress Ink and a little help from the star stamp in the cluster of stars in the Dream On Stamp. The sentiment is from the Best Things Stamp Set and is perfectly framed in a bed of stars. The whimsical balloon is from the Hello Hello Set.  I like to combine multiple stamp sets to get just the right look.
@nancydamiano | thepaperorchard.blogspot.com
This was a quick and simple one with a bold black sentiment from the So Sweet Stamp Set and pretty patterned hearts from the Indigo Hills Stamp Set
Thanks so much for stopping by the blog today. I've been blogging and editing video like mad - catching up after a long lazy summer and a crazy busy September!

SUPPLIES | click on photos for more info:

Pinkfresh Studio - Indigo Hills Collection - 12 x 12 Paper PackPinkfresh Studio - Indigo Hills Collection - Puffy StickersPinkfresh Studio - Indigo Hills Collection - Wood Clips with Foil AccentsPinkfresh Studio - Indigo Hills Collection - Puffy Stickers - Alphabet

Pinkfresh Studio - Indigo Hills Collection - Chipboard Stickers - HeartsPinkfresh Studio - Indigo Hills Collection - Die Cut Cardstock PiecesPinkfresh Studio - Indigo Hills Collection - Sticky Note PackPinkfresh Studio - Indigo Hills Collection - Clear Acrylic Stamps